| Technical Gubbins... continued
How to Install a Front Brake Front road brake calipers are intuitive numbers, and helpful if one plans to stop forward progress in a hurry. Attaches with a single bolt in the center, cable pulls just so, pads grab the rim. Simple.
Brake calipers come in front and rear specific models, each with a specified reach measurement, or the distance between the mounting bolt and the center of the rim. Short reach brakes generally measure 39-50mm, standard reach (sometimes called long reach) brakes 47-57mm, truly long reach brakes 55-73mm. Modern calipers feature a recessed mounting bolt with a pivot nut of either 10.5, 12.5 or 18mm length for different width crown/seatstay bridge assemblies. Current day brakes are for the most part dual-pivot, which practically speaking means they work better, with more mechanical advantage than older single-pivot models.
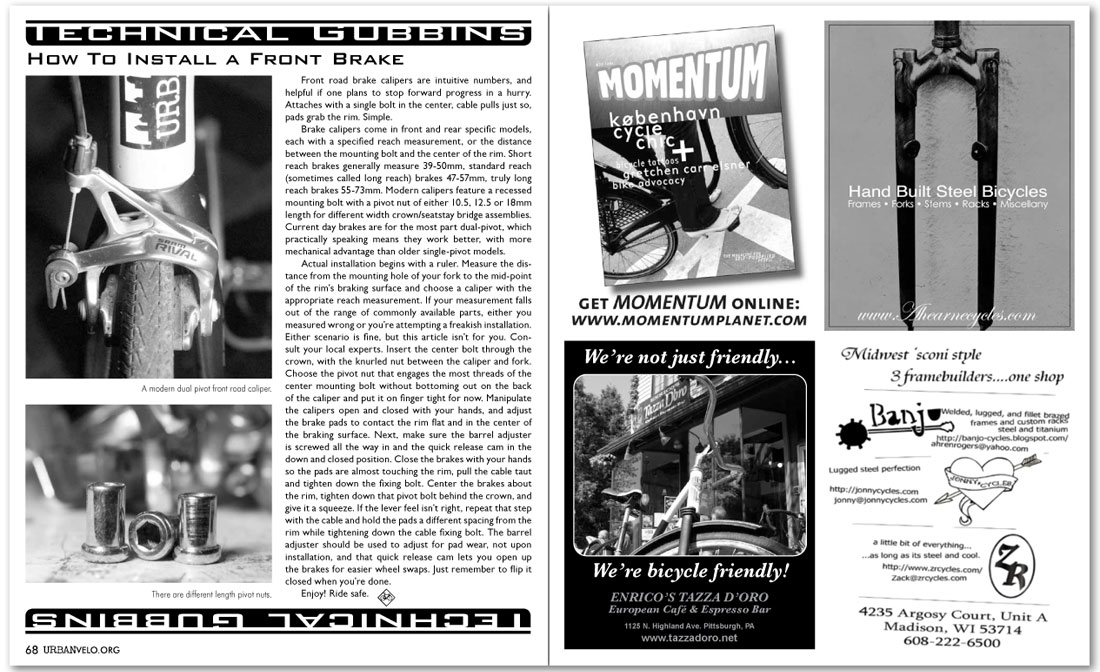
Actual installation begins with a ruler. Measure the distance from the mounting hole of your fork to the mid-point of the rim’s braking surface and choose a caliper with the appropriate reach measurement. If your measurement falls out of the range of commonly available parts, either you measured wrong or you’re attempting a freakish installation. Either scenario is fine, but this article isn’t for you. Consult your local experts. Insert the center bolt through the crown, with the knurled nut between the caliper and fork. Choose the pivot nut that engages the most threads of the center mounting bolt without bottoming out on the back of the caliper and put it on finger tight for now. Manipulate the calipers open and closed with your hands, and adjust the brake pads to contact the rim flat and in the center of the braking surface. Next, make sure the barrel adjuster is screwed all the way in and the quick release cam in the down and closed position. Close the brakes with your hands so the pads are almost touching the rim, pull the cable taut and tighten down the fixing bolt. Center the brakes about the rim, tighten down that pivot bolt behind the crown, and give it a squeeze. If the lever feel isn’t right, repeat that step with the cable and hold the pads a different spacing from the rim while tightening down the cable fixing bolt. The barrel adjuster should be used to adjust for pad wear, not upon installation, and that quick release cam lets you open up the brakes for easier wheel swaps. Just remember to flip it closed when you’re done.
Enjoy! Ride safe. |
|
|
|
|
|

