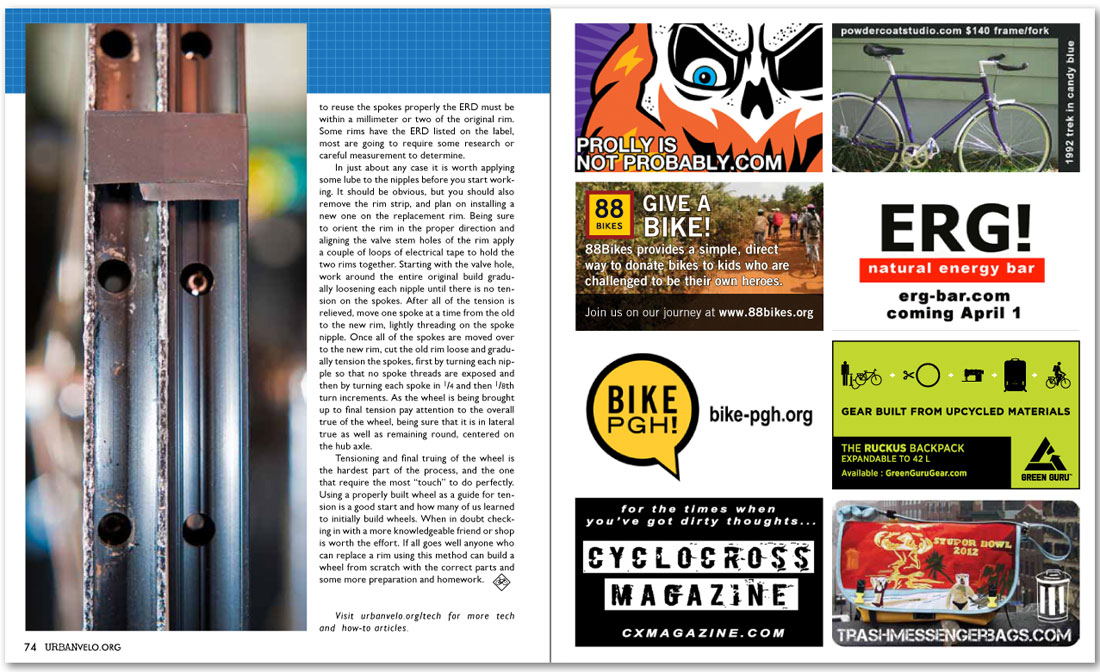


to reuse the spokes properly the ERD must be within a millimeter or two of the original rim. Some rims have the ERD listed on the label, most are going to require some research or careful measurement to determine.
In just about any case it is worth applying some lube to the nipples before you start working. It should be obvious, but you should also remove the rim strip, and plan on installing a new one on the replacement rim. Being sure to orient the rim in the proper direction and aligning the valve stem holes of the rim apply a couple of loops of electrical tape to hold the two rims together. Starting with the valve hole, work around the entire original build gradually loosening each nipple until there is no tension on the spokes. After all of the tension is relieved, move one spoke at a time from the old to the new rim, lightly threading on the spoke nipple. Once all of the spokes are moved over to the new rim, cut the old rim loose and gradually tension the spokes, first by turning each nipple so that no spoke threads are exposed and then by turning each spoke in 1/4 and then 1/8th turn increments. As the wheel is being brought up to final tension pay attention to the overall true of the wheel, being sure that it is in lateral true as well as remaining round, centered on the hub axle.
Tensioning and final truing of the wheel is the hardest part of the process, and the one that require the most “touch” to do perfectly. Using a properly built wheel as a guide for tension is a good start and how many of us learned to initially build wheels. When in doubt checking in with a more knowledgeable friend or shop is worth the effort. If all goes well anyone who can replace a rim using this method can build a wheel from scratch with the correct parts and some more preparation and homework.
Visit urbanvelo.org/tech for more tech and how-to articles.
Powder Coat Studio
ERG!
Green Guru
Trash Messenger Bags
Prolly is not Probably
88 Bikes
Bike PGH
Cyclocross Magazine